All,
It's noon on 19 February 1942, at an Allied airbase at Koepang, Dutch Timor, on the eastern edge of the Dutch East Indies (DEI). The VF-63 Killer Pelicans, led by Lieutenant Shawn Collins and sporting brand new F4F Wildcats, were on the way to Philippines when the decision was made two days ago to cancel that trip and instead divert them to the DEI, so the USS Langley made a quick detour to Timor, dropped them off, and headed to Australia. The Naval aviators had just enough time to get settled in and check their aircraft out before incoming bogeys of the Japanese 1st Air Fleet, operating out of Kendari, Celebes (captured 24 Jan 1942), were spotted. The Killer Pelicans immediately scrambled three Wildcats to meet the enemy.
Yesterday the Pelicans shot down one Oscar and one Helen, at the cost of two of their own precious Wildcats (Ensign Radecek made it back to base, but Lieutenant Collins, the Squadron Commander, was KIA), and a nearby munitions factory was nearly destroyed (10 more damage points, 29/32).
Yesterday the Pelicans shot down one Oscar and one Helen, at the cost of two of their own precious Wildcats (Ensign Radecek made it back to base, but Lieutenant Collins, the Squadron Commander, was KIA), and a nearby munitions factory was nearly destroyed (10 more damage points, 29/32).
Two days ago the Pelicans shot down one Helen and lost their only Wildcat engaged, with Lt Dapper being declared Missing In Action. Two Japanese bombers bombed the munitions factory, causing moderate damage (11 more points, 19/32).
Three days ago the Pelicans shot down one Oscar and three Helens, at the cost of three of their own precious Wildcats (Lt Case made it back to base, shot, Ensign Green made it back safely, and Ensign Davis was KIA), and the radar station at Koepang was destroyed while a nearby munitions factory was lightly damaged (8/32).
Four days ago the Pelicans shot down one Oscar and one Helen, at the cost of two of their own precious Wildcats (Lt French made it back to base, burned badly, Ensign Bordagaray was KIA), and the radar station at Koepang was lightly hit (another ten damage points, 23/32).
Five days ago the Pelicans shot down one Oscar and four Helens, at the cost of one of their own precious Wildcats (and the pilot, Ens Bruce, is missing), and the radar station at Koepang was not hit (still 13/32), and one of their pilots (Lt Case) won the Medal of Honor, scoring five kills to become the Pelicans' first ace.
Six days ago the Pelicans shot down three Oscars and two Helens, at the cost of three of their own precious Wildcats, and the radar station at Koepang suffered moderate damage (13/32), though one of their pilots (Fitzsimmons) won the Navy Cross, scoring three kills before getting shot down.

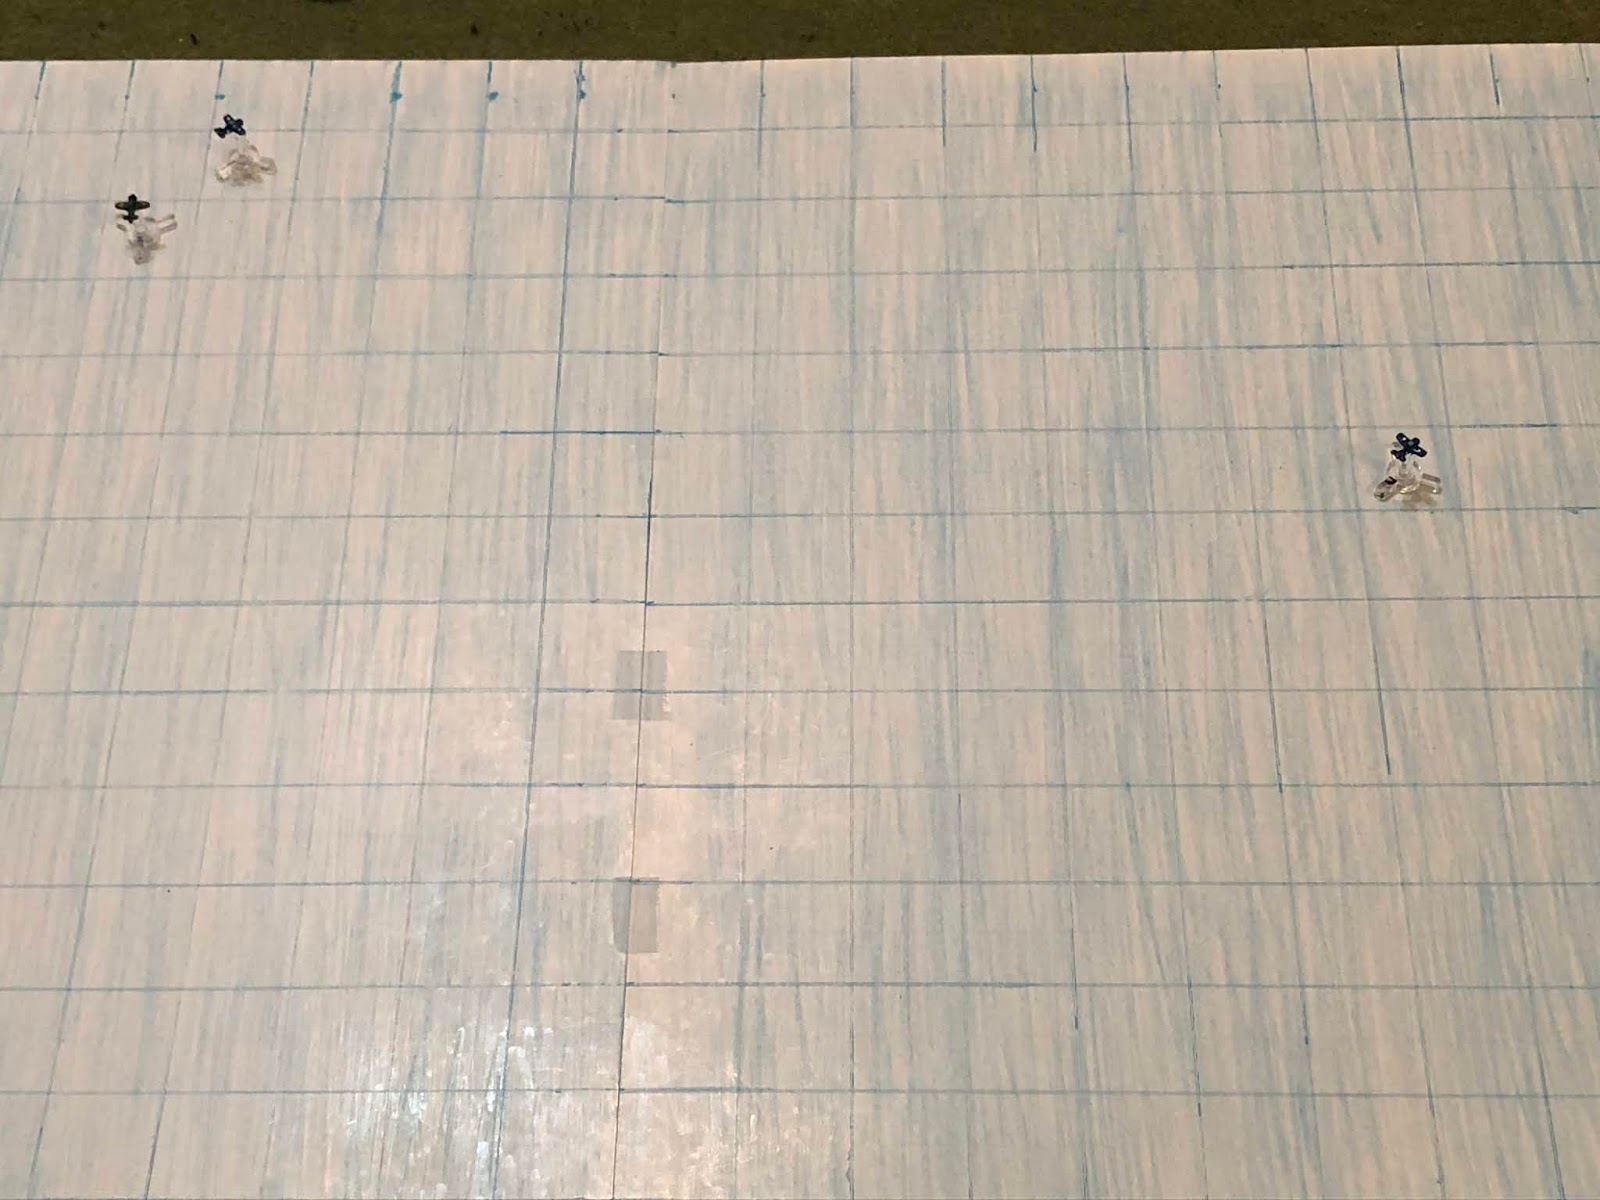
My new setup. Yes, it's homegrown and ugly, and I'll get it fixed, but bear with me, this and the following five fights are all on some posterboard that I gridded myself and my daughter colored. Hey, it works...
I'm using some amazing, but teeny-tiny aircraft from "Thomaston," whom I met over on The Wargames Website when he posted some pics of what he calls "Tiny Air Combat" (https://www.thewargameswebsite.com/forums/topic/tiny-air-combat/page/3/), and I'm using some simple rules posted by "Tango" over on The Miniatures Page (http://theminiaturespage.com/boards/msg.mv?id=489811).
Part of the cool thing with the rules is the campaign set up: the campaign starts with the Japanese having six sets of two fighters and six sets of three bombers, while the Americans have six sets of three fighters. Each game you roll 2D6 per set to determine which 'flights' will be present in the fight, and if that 'flight' previously fought and suffered casualties, that is reflected in the current fight.

The Yanks, from left to right:
Pelly 11, Ensign Chipman
Pelly 10, Lieutenant (Junior Grade) Casey
Pelly 12, Ensign Dahlgren

The incoming Japanese of the 1st Air Fleet: three Ki-49 "Helens" escorted by two Ki-43 "Oscars". Because I'm dumb, lazy, and cheap I am using G4M Bettys as the Helens and A6M Zeros as the Oscars. I have since purchased some actual Ki-43 Oscars, working on getting them painted up. The Japanese, from left to right:
Oscar 02
Oscar 01
Oscar 01
Helen 02, 01, and 03


The Americans shot down one Oscar and one Helen, while the Japanese bombers managed to shoot down one of the precious Wildcats, though Ensign Chipman was scooped up and returned to base without incident. The two Japanese bombers got loose and tore it up, destroying the munitions factory before turning on the Koepang Airfield, heavily damaging it (14/32).
At this stage of the game, the Killer Pelicans are down to 5 serviceable aircraft and Koepang is in danger of being overrun by Japanese landing forces, and so the evacuation is ordered and they boarded a ship for northern Australia, hoping to re-group and get back in the fight to halt the Japanese onslaught across the Pacific.
Total score:
Japanese fighters shot down: 8
Japanese bombers shot down: 13
US Navy fighters shot down: 13
Land Targets destroyed: 2.44 of 3.00
The Americans suffered three pilots killed (including their Squadron Commander) and two more Missing In Action. Two pilots were decorated for gallantry: one became an ace in a single engagement and was awarded the Medal of Honor; he scored two more kills in his next fight, but was shot down and badly wounded, likely missing the next several campaigns. The other decorated pilot scored three kills in a single engagement and was awarded the Navy Cross. Another pilot, with two victories, was badly wounded as well, and will also miss the next several campaigns.
My next campaign stop is with the USAAF Chickenhawks, flying their P-40s out of Australia and then New Guinea, but back to the USN Killer Pelicans for action in the Coral Sea and Midway, then linking up with the USMC Dirt Divers out of Henderson Field on Guadalcanal. By that point I'll be working the ground side of the Solomons as well, maybe back to some cruiser actions on the water. Stay tuned!
V/R,
Jack
Hey Jack,
ReplyDeleteLove the BATREPs, hopefully in the next couple of weeks I will link you to a MISSILE THREAT batrep. If you need replacements for your USN squadron I happen to know a newly commissioned ensign....
But all joking aside. Really like the tiny planes. They look great but I have fat enough fingers that I think 1/600 is good for me. Also, for you 15mm stuff how did you paint your modern marines? Still new to painting that I find it hard to get our desert or woodland marpats right. Or even WW2 marines camouflage even close. Any advice or suggestions?
Thanks man, and can't wait to see your Missile Threat stuff. Still can't believe you soiled yourself by going Navy... ;)
DeleteAnd I SHOULD have stuck with 1/600 air, I just couldn't help myself when I saw Thomaston's stuff...
Regarding 15mm, I use model master paints (can get at any HobbyTown USA, a lot of Hobby Lobby stores, etc...), acrylic and enamels. Modern MARPAT is easy:
Desert: base is khaki (Krylon spray from Walmart), with Sand slashed in, dotted with Italian Dark Brown.
Temperate: base is Italian Dark green, with Wood slashed in, dotted with Flat Black.
WWII Green-Side Out is: Pale Green base, dotted with Italian Dark Brown and Dark Green.
WWII Brown-Side Out is: Gulf Armor Sand, dotted with Italian Dark Brown and Dk Green.
You can see all of them here:
http://blackhawkhet.blogspot.com/2016/03/15mm-modern-usmc-test-figures.html
And:
http://blackhawkhet.blogspot.com/2016/02/test-troops-for-ww2-15mm-usmc.html
Hope that helps.
V/R,
Jack
Another great fight. Do you notice the difference when using Wildcats as opposed to P40s or are they similar enough in (game) performace that it doesn't make too much difference?
ReplyDeleteThanks John. For the game, there's no difference between Wildcats and P-40s, they're 'statted out' the same.
DeleteV/R,
Jack