All,
1747
7 May 1942
1747
7 May 1942
Greetings, and welcome to my return to the Pacific! Both the US Navy and Imperial Japanese Navy are on the prowl in the southwestern Pacific; the Japanese have their eyes on Australia, or at least cutting off the lines of communication between the US and Australia, and the Americans are looking to not allow that to happen. On 3-4 May 1942, while fighting raged on New Guinea, the Japanese attempted secure their flank, sending an invasion fleet into the Solomon Islands to put troops ashore on Tulagi (across the channel from Guadalcanal), in order to conduct an amphibious assault on Port Moresby on 10 May.
But the Americans noted the Japanese invasion force in the Solomons, and the USS Yorktown launched strike aircraft that sunk or damaged several Japanese warships, though now the Japanese were aware the US carriers were in the vicinity, made doubly worse by the fact the Americans were shorthanded: they had only the Yorktown and the Lexington in the area because the Hornet and Enterprise had just returned to Pearl Harbor following the Doolittle Raid. These were faced by the Japanese fleet carriers Shokaku and Zuikaku, and the light carrier Shoho. The two opposing forces marshalled their troops, refueled, consolidated, and began searching in earnest for each other.
This morning, Lt(jg) Casey led the fighter escort for the Lexington strike force which, combined with the Yorktown's strike force, managed to sink the Japanese light carrier Shoho. But the Killer Pelicans' escorts had a rough go: they downed three Zeros and damaged another, but they lost one Wildcat, had the other three damaged, and five of their six assigned dive bombers were shot down, the sixth returning to the Lexington, damaged. Lt Casey scored two more kills to become a Veteran (total of four kills), but he was shot down and badly wounded, which will cause him to miss the Battle of Midway.
Admiral Inoue very aggressively continued to scout for the US carriers, and at 1515, when the strike force that hit the Sims and Neosho returned, he even quickly rearmed them and sent them south, certain his scouts would locate the US carriers, and then he could vector the strike force to them. But it was not to be; the Japanese scouts were unable to locate the US carriers, but the strike force, flying bling in bad weather, stumbled close enough to them that the Lexington and Yorktown were able to vector their CAP over to intercept. At 1747, Lt(jg) Fitzsimmons led aloft the Lexington's Wildcats to intercept the Japanese, which still (and never would) had not spotted the US carriers!


Ensign Theisman, rookie on his first hop
Ensign Radecek, a regular with one kill on one sortie
Ensign Green, a regular with one kill in two sorties
Ensign Galan, a regular with one sortie under his belt
Ensign Head, a regular with one sortie under his belt
Ensign Manley, a rookie on his first hop
Of course, missing from this fight is the flight leader, Lt Fitzsimmons, and several other pilots. Some experienced engine problems, one had to turn back with a radio on the blink, and the Lieutenant got caught out chasing phantom bogeys.*
*CAP missions only get six fighters, and I've got twelve assigned, so this is the cheesy back story to explain why some pilots are not in the fight. And if you're wondering why these pilots are in and other, better, pilots are not, it's because I rolled dice to see which US pilots would be in the fight, and this is how it turned out. Not optimal, by any means, but it does mean the missing pilots will definitely be in the CAP fight(s) on Day 2.

The Japanese Strike Force, looking to locate and attack the US carriers, or at least get home safely. I made a big mistake by listening to Thomaston, which will soon become apparent, and rolled up pilot experience for the Japanese. To refresh your memory, pilot experience goes: Rookie, Regular, Veteran, Ace, and Natural Born Killer. Based on the fact that some of these Japanese pilots have been flying, and fighting, for years, I rolled it so that a pilot had about an 8% chance of being a Rookie, and it went up from there, all the way to Natural Born Killer. So, here we go, from the top:
Zero 02: Regular
Zero 01: Natural Born Killer
Zero 02: Regular
Zero 01: Natural Born Killer
Val 02 Kate 02
Val 01 Kate 01
Val 03 Kate 03
Zero 03: Ace
Zero 04: Regular
Val 01 Kate 01
Val 03 Kate 03
Zero 03: Ace
Zero 04: Regular
Perfect, right? The Japanese Zeros are already getting a +1 for being superior (in terms of maneuverability and climb) to the F4F Wildcats, and now the pilots are markedly better in terms of quality.
Anyway, time to fight!


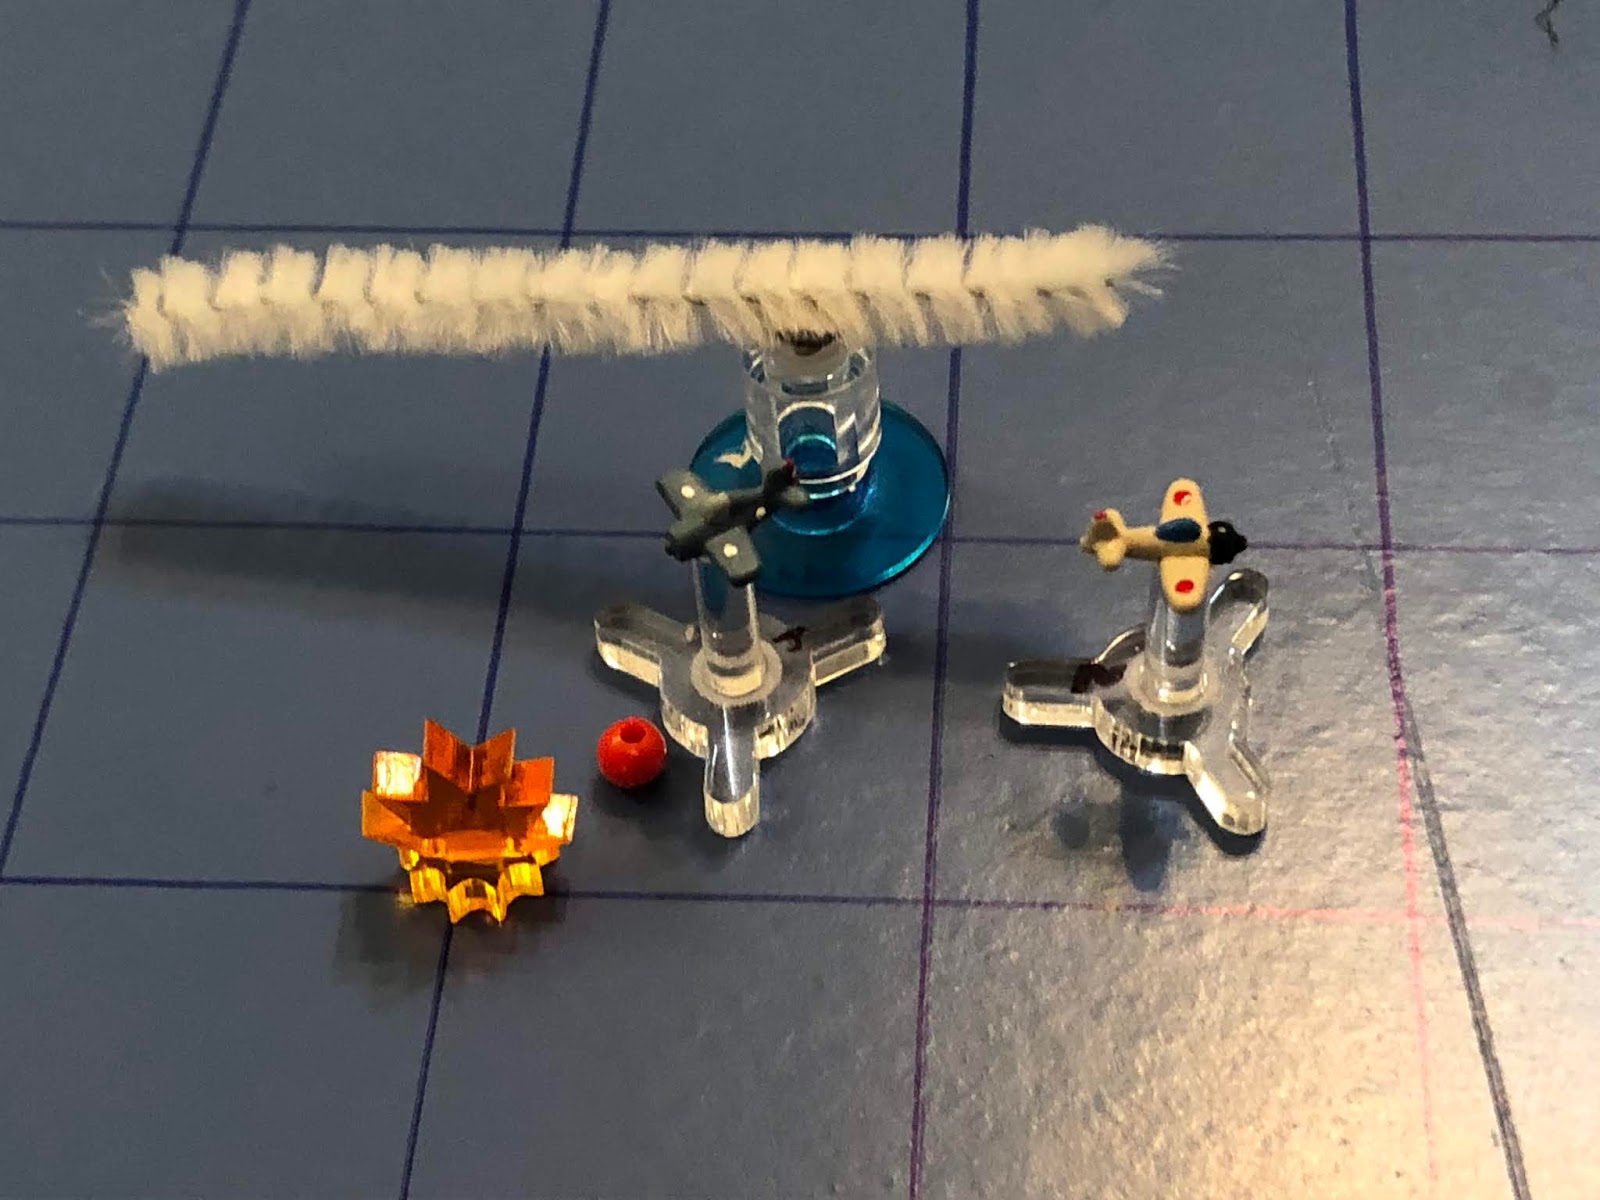
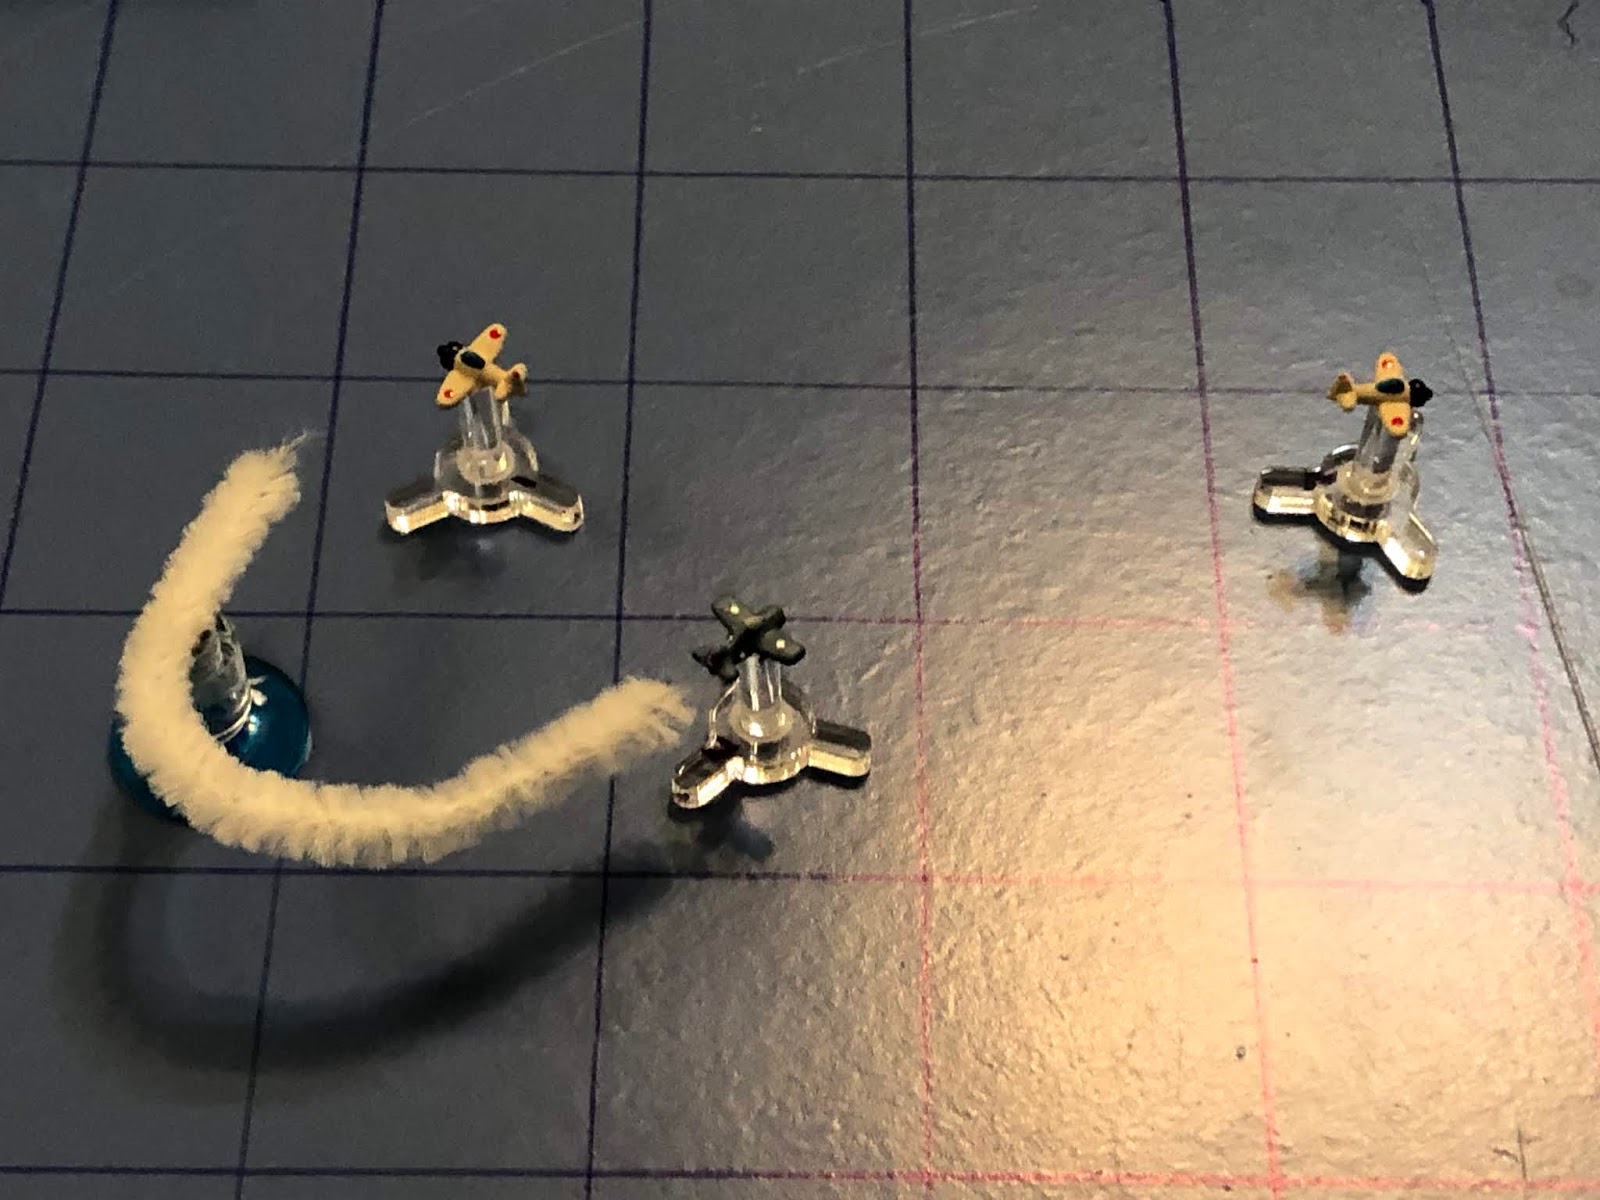
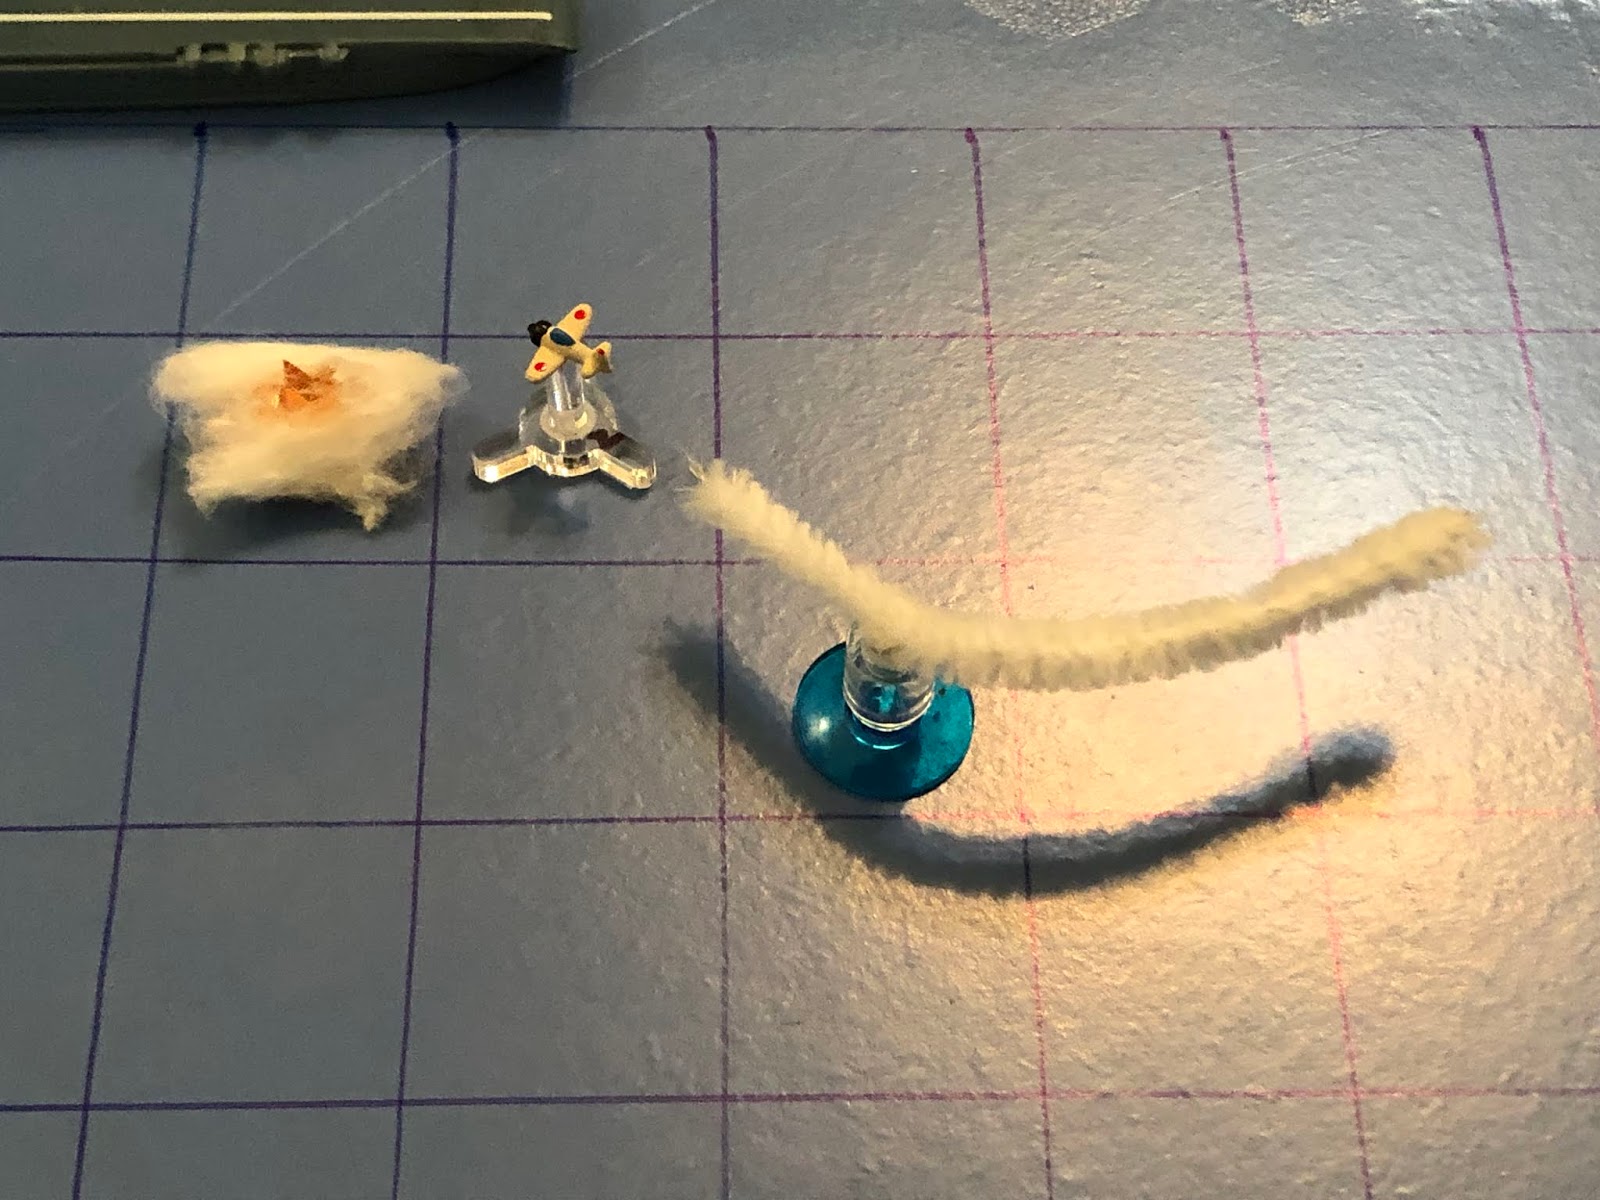
Where did my pipe cleaner go??? There it is.


Now that is interesting; first, that's a helluva start for the Americans. Second, Manley roughed him up, and Head finished him off. For the first time ever, I'm going to give each pilot 1/2 a kill.


*Normally that run would hit on a 5+, but since Zero 01 is a Natural Born Killer, he's hitting on 3+...


Like Ens Galan, Ens Theisman bailed out and would be picked up, though he was injured and would miss a couple weeks of action.


That was masterful, getting in a decent shot, then snuggling up to both Wildcats so that neither can get a shot off. Not only that, but the chances of them being able to turn inside of him, defensive, is pretty slim, so one of them is probably going to open up the range and leave himself exposed.


*Passed his damaged/return to base roll.


Hmmm... If you thought the morning's fight was a debacle, I don't even know what to call this! Six Wildcats jumped four Zeros and six torpedo- and dive bombers. The US Navy pilots managed to down exactly one Zero, one Val, and one Kate, while losing four (4!!!) Wildcats and having the remaining two damaged! Just as bad, three of the US pilots are going to miss some time. Needless to say, the remaining Japanese pilots made it home safely (even though, after dark, some got confused and tried to land on the Lexington!) and are rearing to go for the engagements sure to happen tomorrow.
The only relative bright spot was that Ensign Manley was able to rack up a whopping 1 and 1/2 kills, though it wasn't enough to push him up to Veteran status, just Regular. The bad news is that Ensign Theisman was shot down on his first sortie, so he doesn't even become a Regular, he'll still be a Rookie when he finally gets back in action...
Ensign Theisman, shot down, WIA, out of action until June 1942, remains a Rookie
Ensign Radecek, shot down, WIA, out of action until August 1942
Ensign Green, one kill, shot down, okay
Ensign Galan, shot down, WIA, out of action until August 1942
Ensign Head, 1/2 kill, damaged but returned to ship
Ensign Manley, 1 and 1/2 kills, damaged but returned to ship, becomes a Regular
Ensign Radecek, shot down, WIA, out of action until August 1942
Ensign Green, one kill, shot down, okay
Ensign Galan, shot down, WIA, out of action until August 1942
Ensign Head, 1/2 kill, damaged but returned to ship
Ensign Manley, 1 and 1/2 kills, damaged but returned to ship, becomes a Regular
Both sides carried out preparation for battle throughout the night, then launched scouts shortly after 0600 the next morning, to find the other side's carriers. The Americans got lucky first, sighting the Japanese carriers at 0820, though the Japanese were only two minutes behind. Both sides hurried to turn into the wind and launch their strike groups! The Japanese launched 18 fighters, 33 dive bombers, and 18 torpedo bombers, while the Yorktown and Lexington launched a combined 15 Wildcats, 39 Dauntlesses, and 21 Devastators, though the Lexington's contingent was about 10 minutes behind the Yorktown's.
At 1055 the Lexington's air search radar acquired the inbound Japanese strike group at a range of 68 nautical miles and vectored nine Wildcats to intercept, while the Lexington strike group arrived over the Shokaku and Zuikaku at 1130, facing a Japanese CAP of 13 Zeros, and went into the attack.
Coming right up!
Coming right up!
V/R,
Jack
Hey Jack!
ReplyDeleteGlad to see the little fighters back up in the air again! Was hoping to see the Pelican's do a tad better, but I guess those are the breaks! All is fair in Dice and War.
Still way to go Manely!
Oh, by the way, what scale is the Lady Lex? The fighters are like 1/1250 or something super small right? They look pretty good next her, which is the only reason I ask.
Hey Johnson, hope things are going well man! Are you in the Fleet yet, or still in the training pipeline?
DeleteYup, the fighters are up, both as strike escorts and CAP but, as you saw, it's been a bit ugly. I'm pretty sure I've gone too far in the Zeros' favor, and I'm not sure how to fix it. That's part of the problem with D6 games, the 'chunks' are too big.
The Lexington is one of the 'Axis and Allies War at Sea' models, which I believe are 1/1800, or somewhere in there. And yeah, the planes match up pretty well with it, which is cool.
And you're correct, the youngster Manley done good! Here's to hoping he can keep it going ;)
V/R,
Jack