All,
1130 local time
25 May 1942
New Guinea
Greetings all, having just wrapped up the Coral Sea battles, I figured it's time to head back to my U.S. Army Air Corps fighter squadron, the 565th Tactical Fighter Squadron, better known as the "Chickenhawks." The last we saw of the Chickenhawks was back in February of 1942; they'd started out fighting the Japanese over the Dutch East Indies before falling back to Australia and becoming embroiled in the fighting over Darwin. After things quieted down there, they ended up moving over to Brisbane, where they had a quiet period of daily patrolling to bring in replacements and get them trained up. But they got word at the end of April that they'd be moving soon, and immediately after the Battle of Coral Sea they packed up and shipped out, heading up to Port Moresby on New Guinea, making Kila Kila Airfield, AKA "3 Mile Drome," their new home on 11 May 1942. They only had a couple days before they were called to action.
On 13 May, Captain Cotton led six P-40s against four Zeros and six Bettys. One Zero and one Betty were downed at the cost of three P-40s and 25/30 damage points on the New Guinea Harbor Facilities.
On 14 May, Captain Goode led a depleted flight of only four P-40s up against four Zeros and six Bettys, and it was an unmitigated disaster. All four US fighters were shot down, with Captain Goode and Lt O'Brien killed in action, while the enemy didn't lose a single aircraft! The Japanese bombers quickly finished off the Harbor Facilities, and pounded the Marshalling Area (22/30 damage points).
On 16 May, Major Jordan led the squadron aloft to intercept six Bettys escorted by four Zeros, but Lt Daniel was the star of the show. The Americans lost a single P-40, but they knocked down two Zeros and four Bettys, with Lt Daniel knocking down four of those aircraft and winning the Distinguished Flying Cross. The remaining two Japanese bombers jettisoned their bombs and returned to base, so no bombs fell on the Allied Marshalling Area (still 22/30).
On 18 May, 1st Lt Pace led a flight of four P-40s on escort duty for six B-25 Mitchells detailed to pound Wewak's POL storage tanks. They met five Zeros over the target, with all five being shot down, though two of those were actually by the bomber crews, who took heavy losses. While the Chickenhawks only lost one P-40, four of the six bombers were shot down, and they barely scratched the POL target (6/30 damage points).
On 19 May, two patrols ran into each other over No Man's Land, ending with each side losing a single fighter.
On 21 May, two young Lieutenants found themselves escorting a flight of five B-25 Mitchells over to Wewak again, where a pair of Zeros rise up to meet them. Both Zeros were downed, for the loss of a single P-40s, and all five bombers made it, though they didn't score very well (only 12 more damage points, so 18/30 on the POL target).
On 22 May, five Bettys escorted by a single Zero were met by 1st Lt Daniel and three other P-40s. The Chickenhawks knocked down the lone Zero and three of the Bettys, turning back the last two, but they lost two of their own to defensive fire from the enemy bombers.
It's now 25 May, after a couple of days of bad weather, the Americans are going on the offensive again. 1st Lt Daniel is again the flight leader, leading an escort of four P-40s with six B-25s against the Japanese Combat Air Patrol of four Zeros.
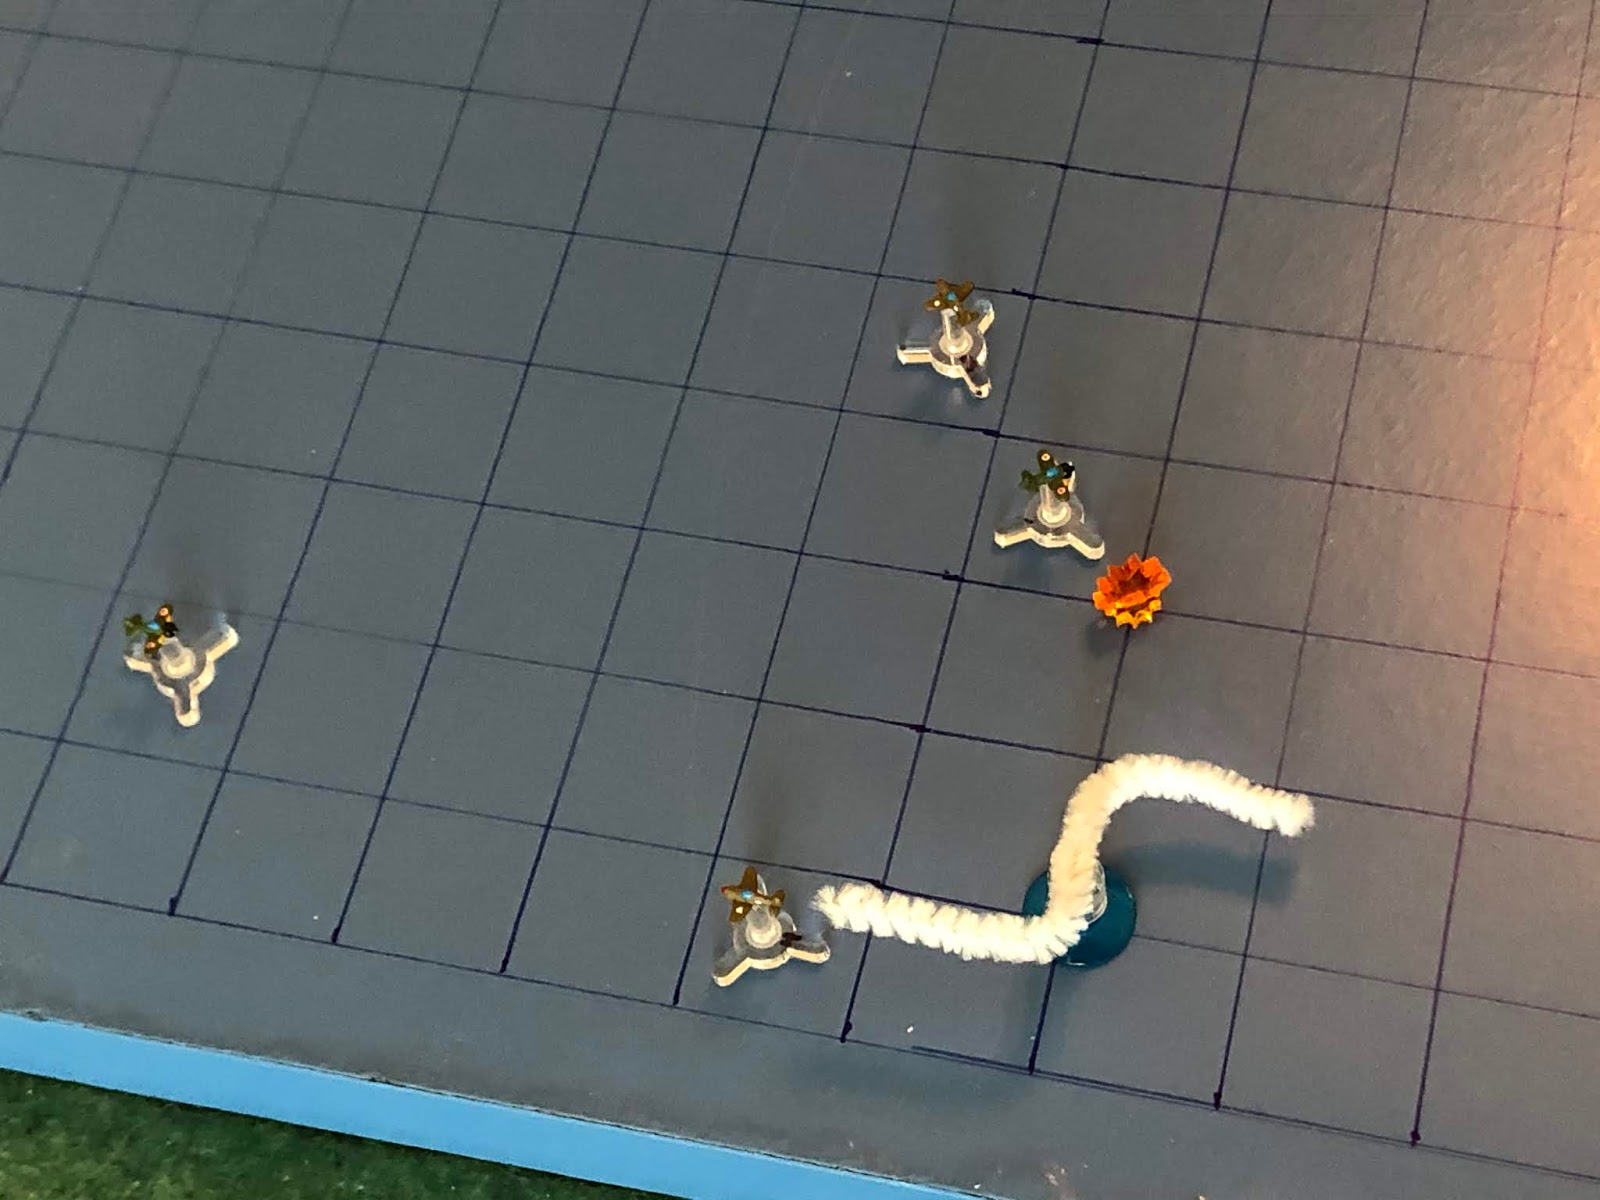
This is my arena for aerial combat; simple, yet durable and, to me, beautiful (in a simple, durable way). I'm using tiny aircraft designed by my buddy Thomaston; not sure what size they are, just that they are much smaller than 1/600. They're 3D printed models that I mounted on cut-down bases from Litko, and I'm using a very simple rules system called "Battle of Britain," which I found for free over on The Miniatures Page (I've already played a good 20 or so fights with them). Left is north, with the Japanese interceptors there, and the American strike group at right.
The US Strike Group, from top:
2nd Lt Lageman, a Veteran
1st Lt Daniel, an Ace
B-25 02 B-25 05
B-25 01 B-25 04
B25 03 B-25 06
2nd Lt Beach, a Regular
2nd Lt Moore, a Regular
Bomber targets are:
POL Storage (18/30)
Warehouse Yard
Wewak Airfield
The Japanese CAP, from top:
Zero 02, a Veteran
Zero 01, a Natural Born Killer
Zero 03, a Veteran
Zero 04, a Rookie
Targets:
Harbor Facilities: Destroyed
Marshalling Area: 22/30
Airfield
As usual, we skip through the first two Turns, and, as is becoming my norm, I forgot to take a picture. Nonetheless, we get straight into the action.
And it opens with Zero 02 straight in, head to head, with Lt Lageman. Both pilots fire...
And Zero 02 flashes past as both pilots miss.
Zero 01 pushes ahead slowly, a bit more measured.
While at the bottom, Zero 03 and Zero 04 push ahead.
And the US bombers push north.
Lt Lageman pushes past Zero 02, up to Zero 01, defensive.
While Lt Daniel sputters aehad, behind him. Lt Daniel is not starting well, and he had a poor showing last fight; I heard he's got a touch of malaria...
While at the bottom, Lt Beach jinks over for a frontal aspect shot on Zero 03...
But he misses and zooms by.
As Lt Moore jinks, too, defensive.
And all that jinking allows Zero 03 to run in and take a shot at B-25 03...
The Mitchell shudders under the impact of 20mm rounds as Zero 03 cuts right.
Zero 04 pushes straight in on Lt Moore, defensive, with the possibility of getting on Lt Beach's tail, if he doesn't mind turning his own tail to Moore.
Up top, Zero 02 pulls even with Lt Daniel, biding his time.
As Zero 01 finally swoops in to take on B-25 01...
The 20mm shells hammer the US bomber into submissio, as Zero 01 cuts left and goes head to head with B-25 02...
And he drops another Mitchell! Two in one pass, not bad...
The US bombers begin pushing north, but B-25 03's got major problems and has to turn back.
As the US bombers push ahead, B-25 05 runs head to head with Zero 01. The Japanese Natural Born Killer opens fire as the American nose gunner does the same...
And the Japanese Super Ace is smote! Smitten? Smited? Whatever, he got whacked! By a bomber! That certainly changes the complexion of things.
Lt Lageman cuts hard left to get back into the fight.
As Lt Daniel performs an Immelman to stick with Zero 02.
Lt Moore comes right around Zero 04, defensive.
As Lt Beach pulls right to go after Zero 03, brazenly showing his tail to Zero 04 (bottom left).
And it's too much to resist: Zero 04 runs in on Lt Beach's tail and opens fire...
But the Japanese rookie blows the shot and comes right alongside!
Zero 03 cuts hard left, onto B-25 05's tail, braving defensive fire to make his gun run...
But both miss and he comes off right.
As Zero 02 ignores Lt Daniel's lethargic ass (top right) and spins around to take a tailing shot on B-25 05.
He damages the American bomber, then pulls right, passing Zero 03.
B-25 03 escapes to safety.
But dammit, the US bomber force is shrunk to two as B-25 05 is hurt and has to flip around to head for home.
The remaining two B-25s push north, wondering if they're doing the right thing, wondering if it isn't time to jettison their bombs and head for safety...
Lt Moore sputters right, completely worthless...
As Lt Lageman comes left to protect the bombers' tails.
Lt Daniel, the Ace that won't engage, does his customary Immelman to remain relevant and look like he's still in the fight.
But wait, he IS actually in the fight! He comes left and takes a quarter deflection shot on Zero 02's tail!
And the Zero goes down in flames!!!
*Yeah, I cheated. I normally don't allow anyone but a Natural Born Killer to flip an Immelman/Split S and engage a target in the same turn, but Lt Daniel rolled big, and he's been so useless lately, I figured why not? I did give him a -1 on his 'to hit' roll, but he made it.
But Lt Daniel 's smile fades (far right) as he looks on helplessly as Zero 03 cuts right onto B-25 06's tail and opens fire...
But the damn tail gunners take care of him, too!!!
The last remaining Zero is the Japanese rookie, Zero 04. he cuts hard left, defensive, with Lt Beach on top of him.
The Mitchells run north.
B-25 05 reaches safety.
Lt Moore runs straight in on B-25 06, useless as ever. The bomber crew was actually afraid that imbecile was going to open fire on them...
Lt Beach performs a Split-S to get onto Zero 04's tail.
Lt Daniel's blood is up, finally feeling back in the groove: he comes hard left, head to head with the Japanese rookie. Both pilots open fire...
Zero 04 is damaged and Lt Daniel comes off right (top left), as Lt Lageman jinks in to finish off the Japanese fighter...
And that's exactly what he does, though the Japanese pilot does manage to pump a few 20mm rounds into Lt Lageman's P-40 before he goes down!
The P-40s re-form and escort the two remaining B-25s to the target area. The P-40s back off once they reach Wewak, where AA begins rising up to dirty up the beautiful sky with puffs of smoke and shrapnel, but they watch the bombers zoom in and do their thing. "What the hell are those guys doing?" "Yeah, they really suck at this bombing stuff, don't think they got a single bomb on target!" The two B-25s scored a measly 7 points of damage, bringing the Wewak POL storage target to 25/30 damage points.
The mission was a success from the standpoint of no P-40s were lost and two bombers were delivered to the target area, while all four Zeros were shot down. But, two bombers were shot down, and two more were damaged and forced to return to the base, so not exactly a resounding success.
2nd Lt Lageman scored one kill
1st Lt Daniel, scored one kill
2nd Lt Beach failed to score
2nd Lt Moore failed to score, and, on Lt Daniel's recommendation, Major Jordan ripped his ass for his lack of competence, initiative, and aggressiveness
Next up is the last fight of this mini-campaign, the Japanese making one last-ditch effort to bomb Port Moresby, with two Zeros escorting six Bettys against five P-40 Warhawks. Coming soon!
V/R,
Jack


Hey Jack!
ReplyDeleteGreat report! I am little disappointed about the B-25's not getting to the target, but such is the way that the dice roll sometimes.
Also Happy 244th Birthday!
v/r
Johnson
Hey Johnson, how's it going man? Hope all is well.
DeleteTo be fair, the B-25s got to the target, they just couldn't hit anything. Again...
Happy Birthday to you, too, even though ya sold out! ;)
V/R,
Jack