All,
It's noon on 16 February 1942, at an Allied airbase at Koepang, Dutch Timor, on the eastern edge of the Dutch East Indies (DEI). The VF-63 Killer Pelicans, led by Lieutenant Shawn Collins and sporting brand new F4F Wildcats, were on the way to Philippines when the decision was made two days ago to cancel that trip and instead divert them to the DEI, so the USS Langley made a quick detour to Timor, dropped them off, and headed to Australia. The Naval aviators had just enough time to get settled in and check their aircraft out before incoming bogeys of the Japanese 1st Air Fleet, operating out of Kendari, Celebes (captured 24 Jan 1942), were spotted. The Killer Pelicans immediately scrambled five Wildcats to meet the enemy.
Yesterday
the Pelicans shot down one Oscar and one Helen, at the cost of two of their own precious Wildcats (Lt French made it back to base, burned badly, Ensign Bordagaray was KIA), and the radar station at Koepang was lightly hit (another ten damage points, 23/32).
Two days ago the Pelicans shot down one Oscar and four Helens, at the cost of one of their own precious Wildcats (and the pilot, Ens Bruce, is missing), and the radar station at Koepang was not hit (still 13/32), and one of their pilots (Lt Case) won the Medal of Honor, scoring five kills to become the Pelicans' first ace.
Three days ago the Pelicans shot down three Oscars and two Helens, at the cost of three of their own precious Wildcats, and the radar station at Koepang suffered moderate damage (13/32), though one of their pilots (Fitzsimmons) won the Navy Cross, scoring three kills before getting shot down.

My new setup. Yes, it's homegrown and ugly, and I'll get it fixed, but bear with me, this and the following five fights are all on some posterboard that I gridded myself and my daughter colored. Hey, it works...
I'm using some amazing, but teeny-tiny aircraft from "Thomaston," whom I met over on The Wargames Website when he posted some pics of what he calls "Tiny Air Combat" (https://www.thewargameswebsite.com/forums/topic/tiny-air-combat/page/3/), and I'm using some simple rules posted by "Tango" over on The Miniatures Page (http://theminiaturespage.com/boards/msg.mv?id=489811).
Part of the cool thing with the rules is the campaign set up: the campaign starts with the Japanese having six sets of two fighters and six sets of three bombers, while the Americans have six sets of three fighters. Each game you roll 2D6 per set to determine which 'flights' will be present in the fight, and if that 'flight' previously fought and suffered casualties, that is reflected in the current fight.
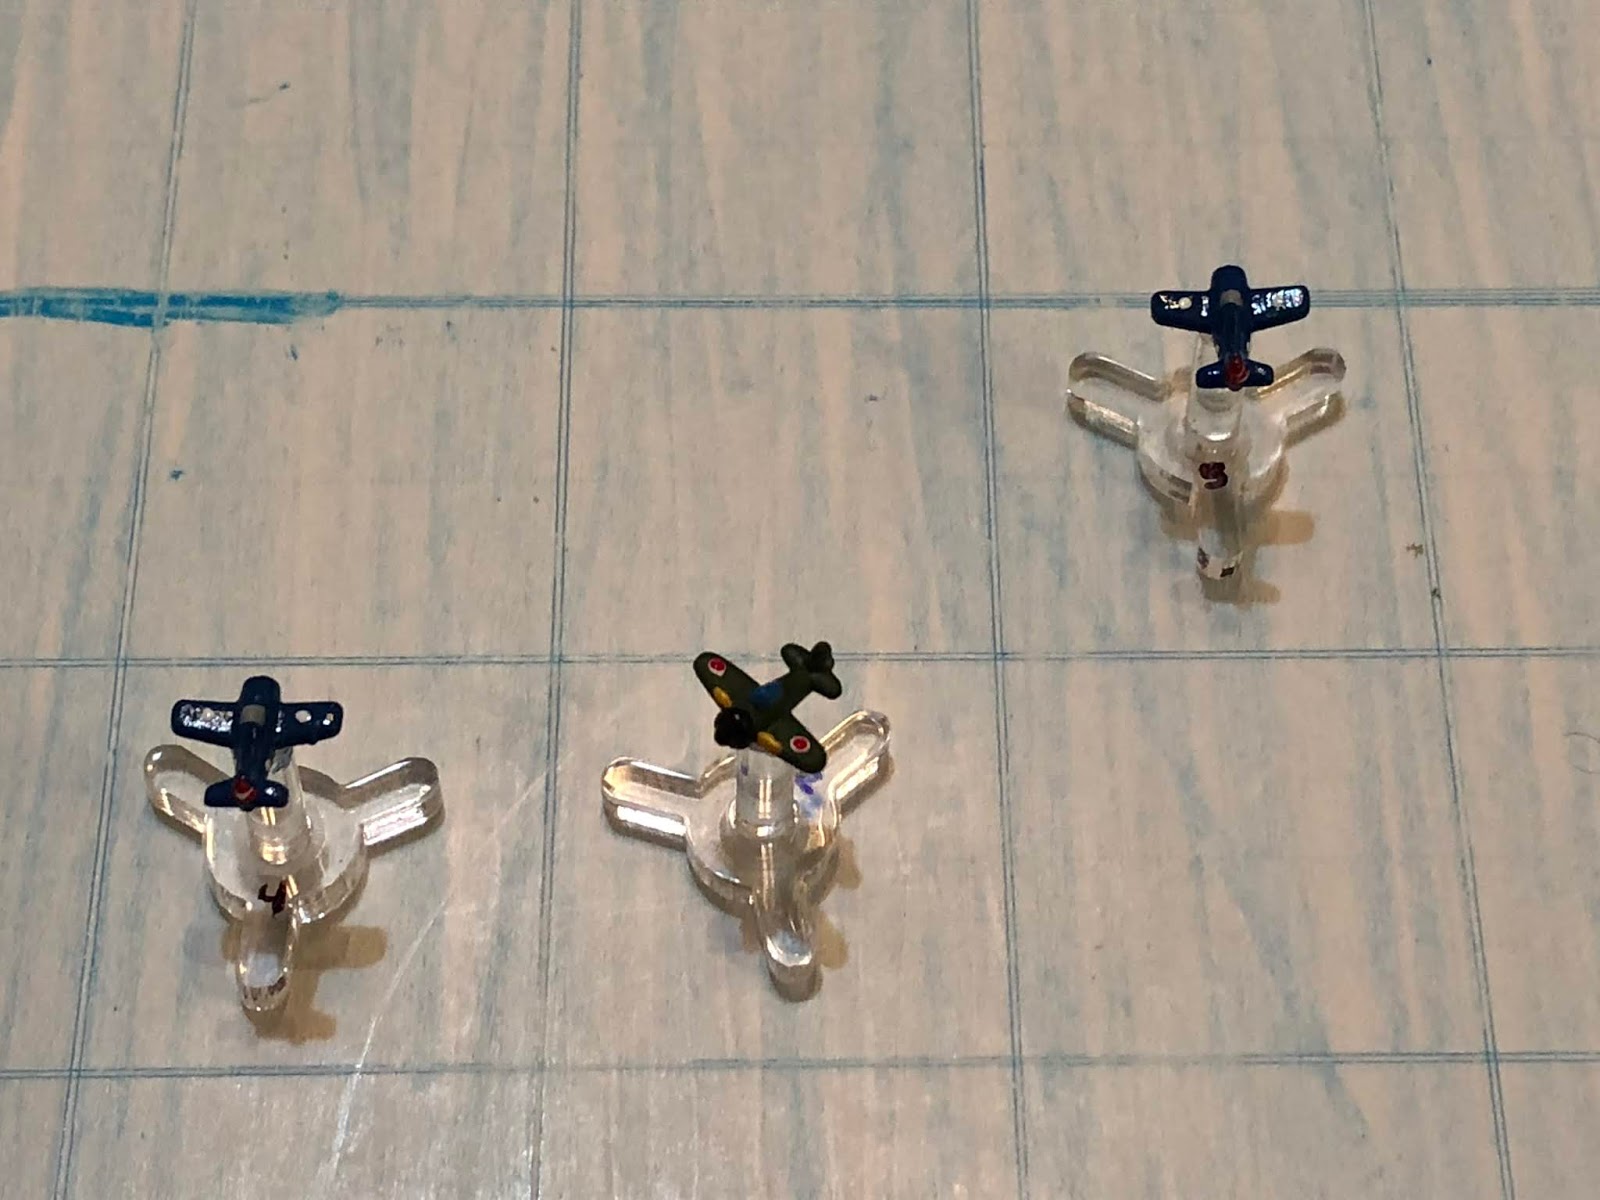
The Yanks, from left to right:
Pelly 14, Ensign Davis
Pelly 13, Lieutenant (Junior Grade) Dapper
Pelly 10, Lieutenant (Junior Grade) Casey
Pelly 04, Lieutenant Case*
Pelly 05, Ensign Green
*This is my Ace and Medal of Honor winner. BUT, please recall that these first seven games were my play-testing of the rules, and I was still figuring things out, so he doesn't actually get any sort of advantage in the game for being an ace.
The incoming Japanese of the 1st Air Fleet: six Ki-49 "Helens" escorted by three Ki-43 "Oscars". Because I'm dumb, lazy, and cheap I am using G4M Bettys as the Helens and A6M Zeros as the Oscars. I have since purchased some actual Ki-43 Oscars, working on getting them painted up. The Japanese, from left to right:
Oscar 02
Oscar 01
Helen 02, 01, and 03 on top
Helen 05, 04, and 06 on bottom
Oscar 03
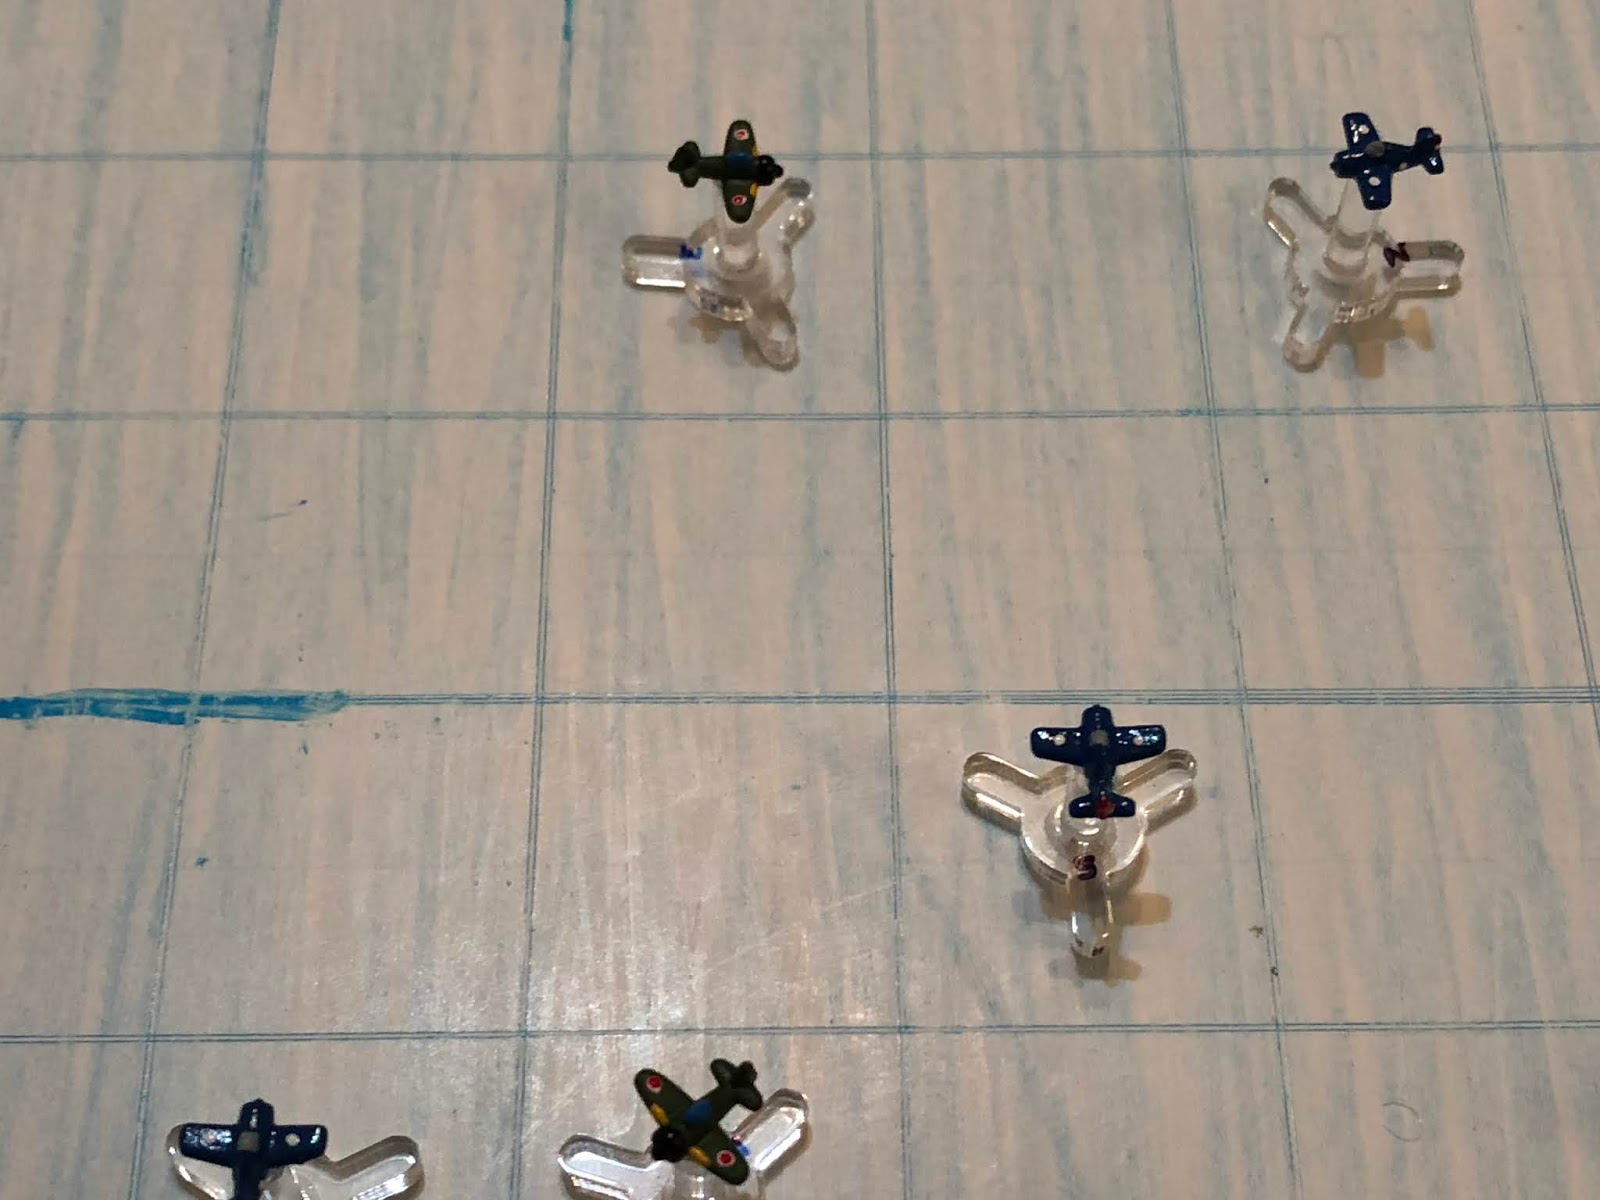
Turns 1 through 3 bring us to the merge, air combat is about to break out!
In the south, Oscar 03 cuts hard left and takes a terrible deflection shot on Lt Dapper, missing. He was more concerned with defensive maneuvering since he's outnumbered, to be honest.
While in the north, Oscar 01 cuts right at the American fighters, while his wingman, Oscar 02, continues straight and level, looking to travel a bit more before cutting in.
Ensign Green pulls up alongside his leader (bottom left), as Lt Casey (not to be confused with Lt Case, the ace) cuts hard right (right), looking to handle Oscar 02 (to center).
And then Lt Case pushes hard right then jinks back hard left, running in on Oscar 01, guns blazing...
Lt Case's machine guns damage Oscar 01, and he flashes past.
In the south, Lt Dapper (top left) continues to push towards the bombers, while Ens Davis (bottom center) does some fancy maneuvering... for no apparent reason.
And the Japanese bombers charge east.
In the north, Oscar 01 is wounded...
So he pushes east, looking to get away from the US fighters (bottom right), as Oscar 02 (top center) comes right to help his section leader.
While in the south, Oscar 03 cuts hard left, inside Lt Dapper's Wildcat (top center) and into Ens Davis' fighter (bottom right), purely defensive.
Lt Dapper (far left), with bombers to his right and a enemy fighter to his left, is indecisive and sputters ahead straight and level, but Ens Davis (bottom center) is more aggressive, cutting hard right to take a horrible deflection shot on Oscar 03...
Predictably, he misses, then cuts right again and takes that same horrible deflection shot on Helen 03 (right), missing again!
Lt Casey breaks hard left (bottom left, with Ens Green at far left) to get at the bombers (off camera to bottom left).
As Ens Green cuts left into the bomber formation (left); he dodges incoming tracers, then stands on his trigger, sending Helen 02 down in flames!
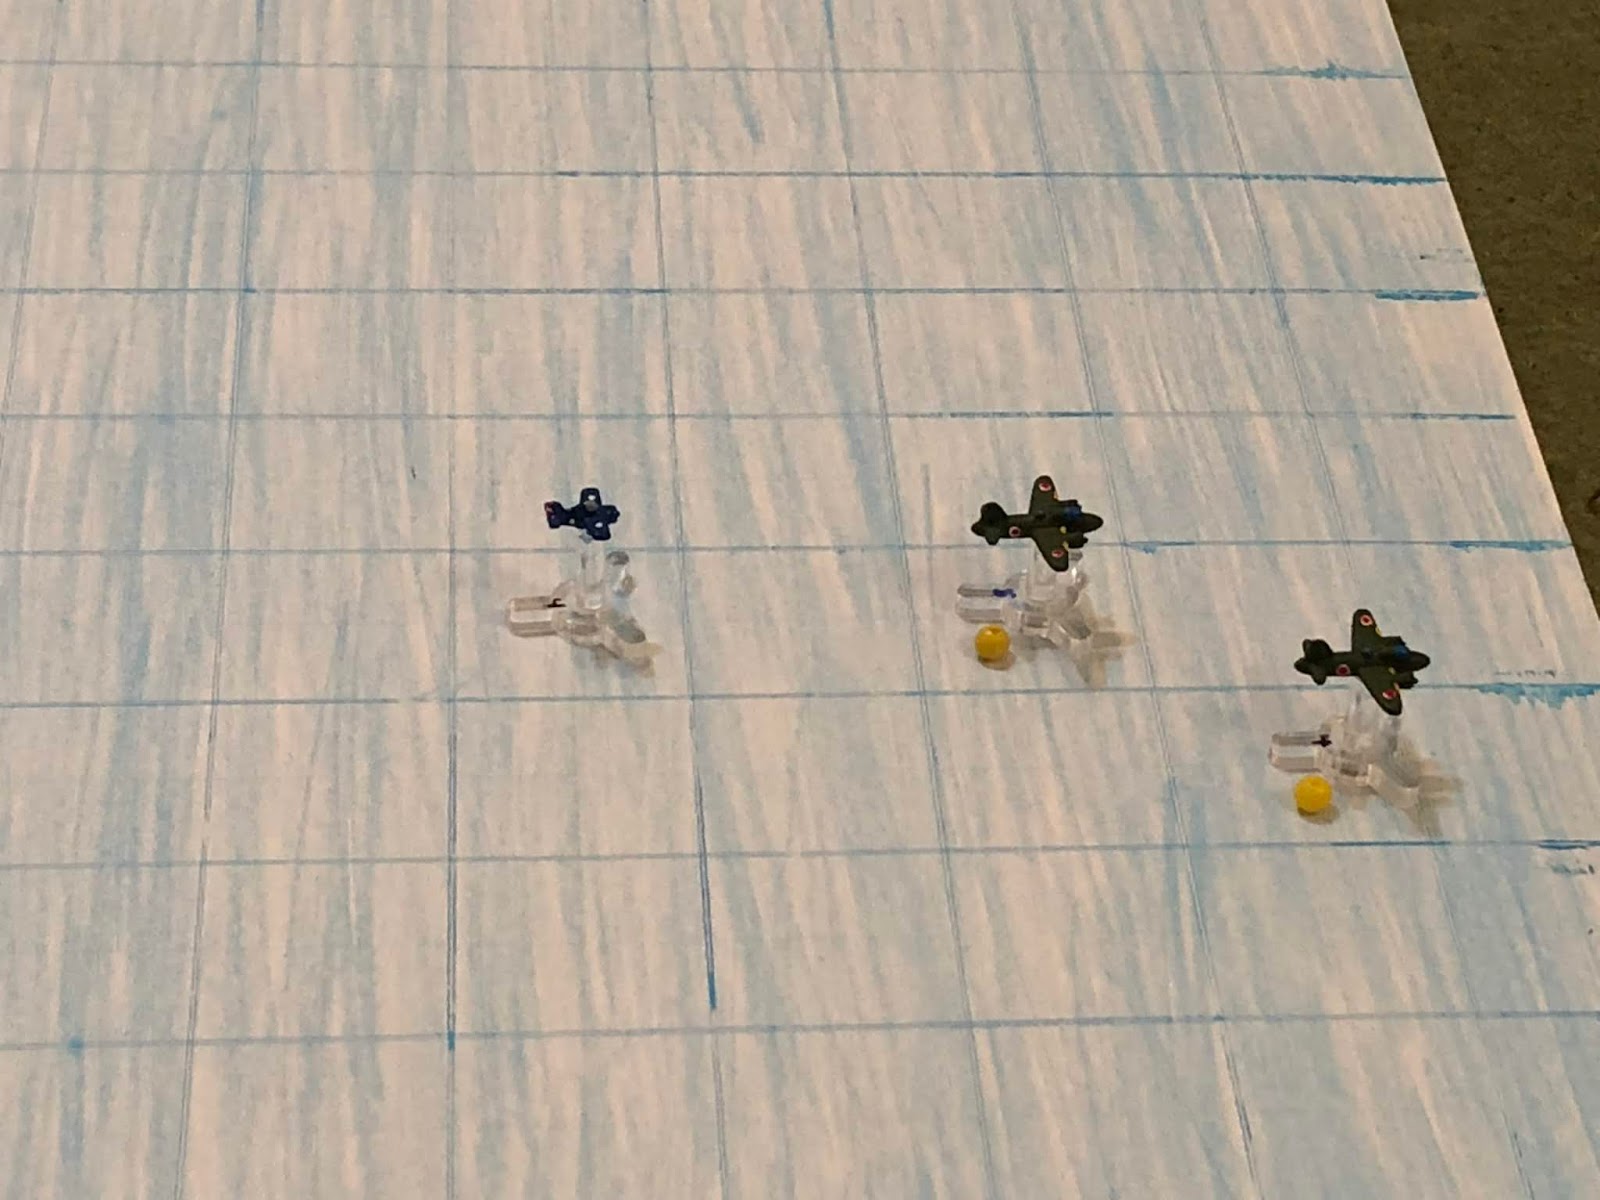
And as Ens Green (right) scores, Lt Casey (left) charges in on Helen 04, guns blazing...
The Japanese bomber is damaged (yellow bead at center top), but the formation holds together and continues marching east. Just then, Oscar 03 (bottom left)...
Pulls an incredible maneuver to come all the way around right and go nose to nose with Lt Case (left), where he promptly opens fire on the stubby Wildcat...
But he misses and flashes by Lt Case.
While in the north, both Oscar 01 (bottom center) and Oscar 02 (top left) pull hard left, with Oscar 02 taking a terrible shot at Lt Casey...
The Japanese pilot misses Lt Casey (top right), then zooms in and takes a shot at Ens Green (bottom left), missing again!
Lt Dapper (bottom left) comes hard right, in position behind Oscar 03 (top left), while his wingman, Ens Davis, is confounded by the tactical situation and sputters ahead, straight and level (center). But Lt Case (left top) is aggressive as ever...
He swings hard left and pulls onto the tail of Helen 06 (bottom right), guns blazing and dodging defensive fire from the Japanese bomber.
Helen 06 is damaged as Lt Case pushes past, guns tearing into Helen 03 (bottom right) as he takes defensive fire from three Japanese bombers! Lt Case's rounds only damage Helen 03 (so far he's not shot anyone down, but he's damaged three different bombers)…
Wanting to get in the mix, Ens Green cuts hard left and dives into the center of the Japanese bombers formation (center, with Lt Case at bottom left), braving defensive fire but unable to line up a shot.
While further north, Lt Casey lines up a shot on Oscar 02 and opens fire...
But misses and overshoots his target.
And the Japanese bombers moves east, minus one aircraft and with three damaged.
Oscar 01, the enemy fighter leader, is damaged and can't get anything done offensively, so he charges through the bomber formation, placing his aircraft between the bombers and the Yankee running-dog imperialists (center bottom left, with yellow bead)…
Oscar 02 cuts left (center, with Lt Casey above him) and fires on Ens Davis...
Missing, passing him, and ending up between Ens Davis (top right) and Lt Dapper (bottom left).
And while Oscar 02 is doing that (bottom center), Oscar 03 cuts right, lining up nose to nose (top center) with Lt Casey.
There's too much going on for Ens Davis to process and so he sputters straight ahead (again, top right), accomplishing nothing, as Lt Casey cuts hard left (center) and fires on Oscar 02, missing, and Lt Dapper (bottom left) is finally awake and licking his chops. He pushes his Wildcat forward...
And cuts right (top left), onto the tail of Oscar 03, .50-cals hammering away, damaging the Japanese fighter.
Ens Green (center, with Lt Case at bottom left) fires on Helen 04...
Missing, as usual, then pushing ahead to fire on Helen 01, braving defensive fire from Helens 01, 03, and 04...
And the Japanese bombers shoot down Ens Green (blank space at far right)!!! Lt Case curses, then comes left (left) to fire on Helen 05. He misses (then I missed a photo), but his Wildcat is damaged by defensive fire! He lines up a shot on Helen 04 (right) and fires, damaging the Japanese bomber (the fourth bomber he has damaged in this fight!)!
That's absolutely horrible: he's shot at four undamaged bombers and damaged each, and fired on one damaged bomber (which a hit would knock down) and missed, getting damaged himself, just to add insult to injury. I don't recall the die rolls, but I'm sure if I was giving him any kind of benefit for being an Ace he would have gotten a kill or two already.
And the bombers push east towards their target.
The Japanese fighter leader (Oscar 01, left) cuts right and fires on Ensign Davis...
Missing, then pulling hard left (center, with Oscar 02 at bottom left) to take a horrible deflection shot on Lt Casey, missing again.
*With not ammo rules, there's no reason to not take the shot, no matter how bad it is. I was thinking of adding ammo rules, but I don't think I want the hassle of tracking something else.
Oscar 02 cuts hard right (center), getting into the middle of a big furball but unable to line up a shot. At top center, Oscar 03...
comes right, firing on Lt Case, missing, and flashing past.
As Lt Case moves into position behind Helen 06, guns blazing. The Japanese bomber, already damaged, goes down in flames!
Lt Case pushes his damaged Wildcat through the debris, lines up a shot on Helen 03, wincing as tracers from its tail guns spew forth, and stands on the triggers. Pieces fly off each aircraft as machine gun tracers slam home, and seconds later BOTH aircraft are aflame, plunging towards the depths of the Savu Sea!!!
Lt Case is struck in the chest and almost passes out from the pain, but he recovers in time to bail out, and soon after he's fished from the warm waters by a Dutch patrol vessel.
So, after damaging four bombers and missing another, Lt Case quickly racks up two more kills, but is himself shot down in the process! And wounded, too...
Lt Casey slowly comes left (bottom center), not believing what he just saw, as Lt Dapper pushes east (right), in pursuit of the bombers. But all day Ensign Davis has been distracted, and again he sputters along, straight and level (top center), but this time he's got a Japanese fighter on his tail (left), which probably just sealed his fate...
The three remaining Japanese bombers continue their march east, nearing the target area.
As predicted, Oscar 02 cuts in behind Ens Davis (center). The confident, experienced, Japanese pilot lines up an easy shot, point blank range, zero deflection, and fires...
But somehow misses!!! Oscar 02 pulls right to avoid colliding with Ens Davis' aircraft!
The Japanese fighter leader lets out a string of obscenities at the incompetence of his wingman, then coolly and calmly pulls in behind Ens Davis's Wildcat and holds the trigger until the Grumman explodes, killing Davis instantly!
As Oscar 01 scores (top left), Oscar 03 pulls around hard right (center), hoping to force the Americans past his wounded aircraft.
*Dammit, looks like I missed another picture...
It doesn't work: Lt Casey (left) pulls left into him and sends Oscar 03 flaming into the sea!
As Lt Casey gets his kill (bottom left), Lt Dapper charges east (center right) after the Japanese bombers.
But they firewall the throttles, opening up the distance.
Further west, Oscar 02 cuts hard right (bottom right) and fires on Lt Casey, missing.
As Oscar 01 (top left) makes a lazy right turn.
Lt Casey cuts hard left (center) to give chase.
Lt Dapper (center) gives chase, but as he checks over his shoulder to make sure his 6 is clear, he bumps the throttle and his engine sputters...
As the first Japanese bomber enters the target area and begins its bombing run.
With Lt Casey (bottom left) behind him and smelling blood, Oscar 01 pushes his damaged fighter to open up the distance (top center).
And Oscar 02 maneuvers defensively, staying close to Lt Casey.
Who promptly guns his engine, heading east (center), in trace of Lt Dapper (far right).
Who cannot catch the remaining two Japanese bombers...
All told, three Japanese bombers reach the target area and deliver their payloads. After destroying the Koepang radar site they turn on a nearby munitions factory, lightly damaging it (8/32). Despite scoring multiple kills, the U.S. naval aviators failed in their mission to protect the radar station...
The Americans shot down one Oscar and three Helens, while the Japanese fighters shot down one Wildcat and their bombers shot down two more!!! Lt Case, the ace/Medal of Honor winner, parachuted to safety and was scooped up and returned to base, as was Ensign Green, though Lt Case was badly wounded, while Ensign Davis was killed in action.
Next fight coming right up.
V/R,
Jack


No comments:
Post a Comment