Wednesday, October 30, 2019

Chickenhawks Over New Guinea #2

All,

1130 local time
14 May 1942
New Guinea

Greetings all, having just wrapped up the Coral Sea battles, I figured it's time to head back to my U.S. Army Air Corps fighter squadron, the 565th Tactical Fighter Squadron, better known as the "Chickenhawks." The last we saw of the Chickenhawks was back in February of 1942; they'd started out fighting the Japanese over the Dutch East Indies before falling back to Australia and becoming embroiled in the fighting over Darwin. After things quieted down there, they ended up moving over to Brisbane, where they had a quiet period of daily patrolling to bring in replacements and get them trained up. But they got word at the end of April that they'd be moving soon, and immediately after the Battle of Coral Sea they packed up and shipped out, heading up to Port Moresby on New Guinea, making Kila Kila Airfield, AKA "3 Mile Drome," their new home on 11 May 1942. They only had a couple days before they were called to action.

On 13 May, Captain Cotton led six P-40s against four Zeros and six Bettys.  One Zero and one Betty were downed at the cost of three P-40s and 25/30 damage points on the New Guinea Harbor Facilities.

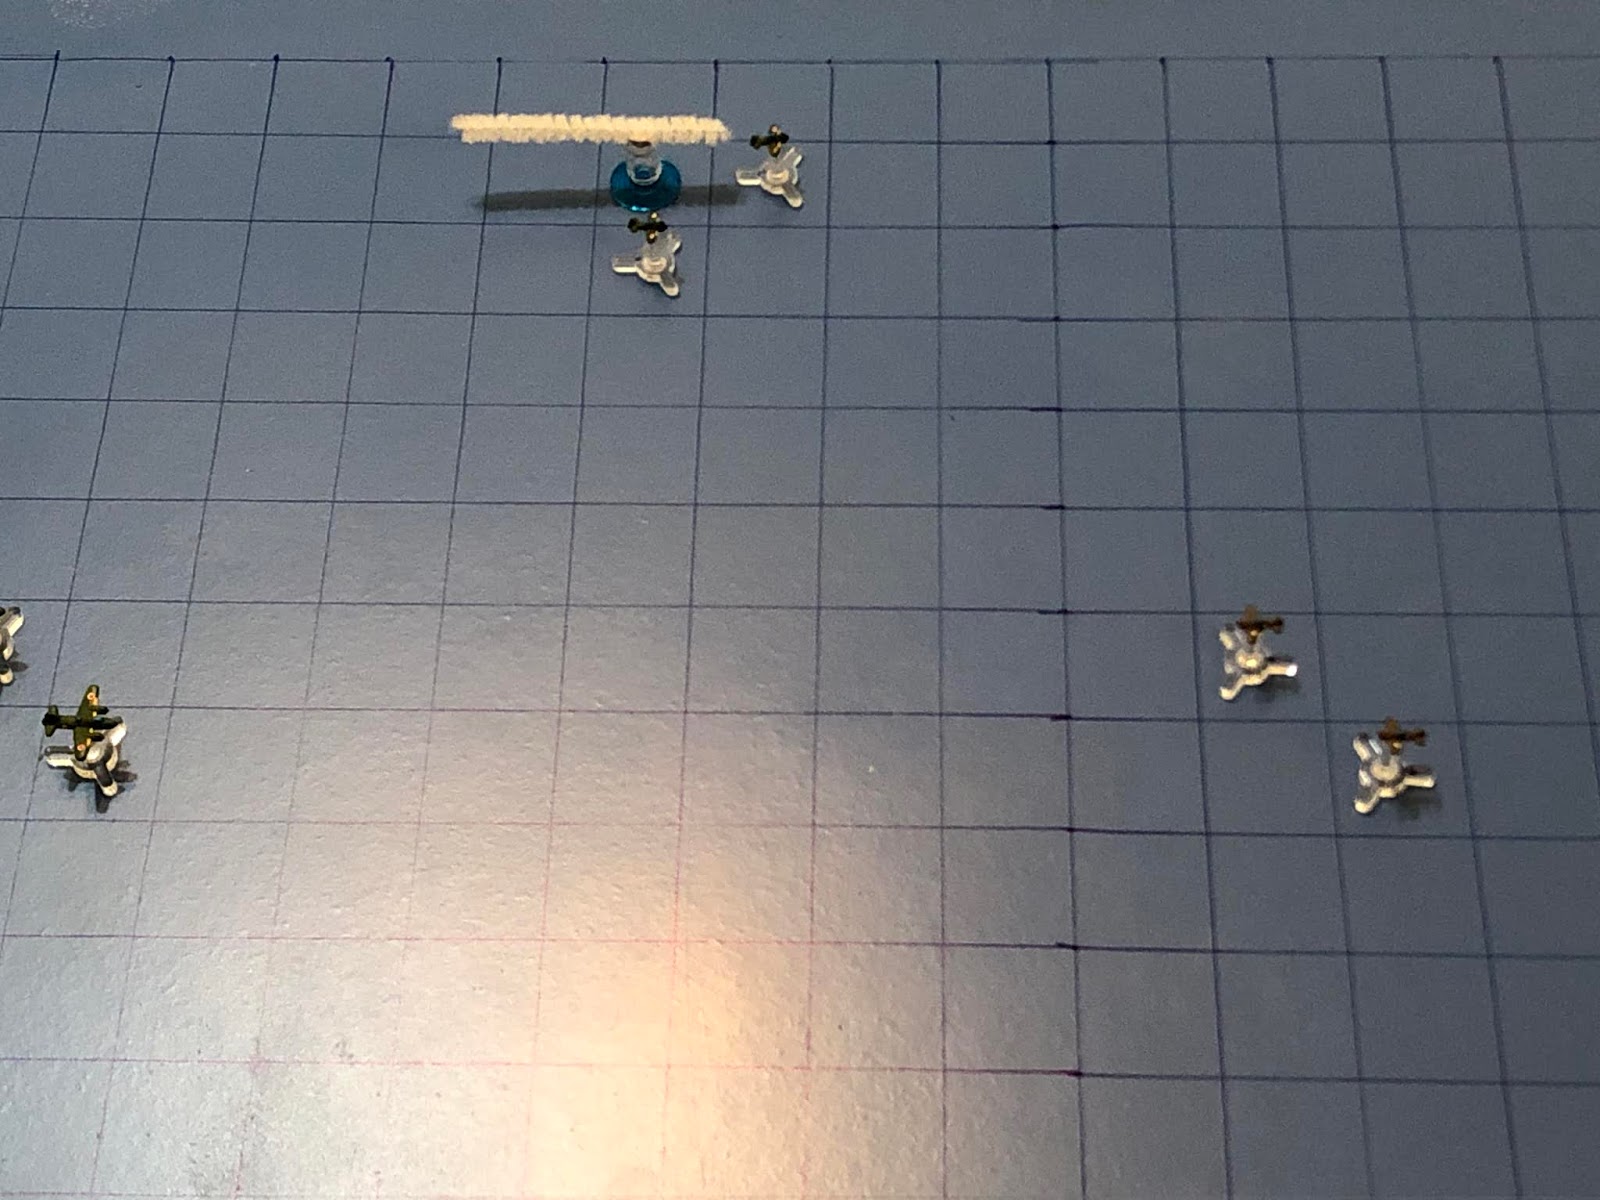
Now, Captain Goode is leading a depleted flight of only four P-40s up against four Zeros and six Bettys.

This is my arena for aerial combat; simple, yet durable and, to me, beautiful (in a simple, durable way). I'm using tiny aircraft designed by my buddy Thomaston; not sure what size they are, just that they are much smaller than 1/600. They're 3D printed models that I mounted on cut-down bases from Litko, and I'm using a very simple rules system called "Battle of Britain," which I found for free over on The Miniatures Page (I've already played a good 20 or so fights with them). Left is north, with the Japanese strike group there, and the American interceptors at right.

The US interceptor group, from top:

2nd Lt Lageman, a Rookie on his first combat mission
Captain Goode, an Ace with five kills on two sorties
2nd Lt Becht, a Regular with one kill, on his second ever mission
2nd Lt O'Brien, a Regular with no kills, on his second mission, too

Wow, what a pisser!  Talk about bad rolls; I've broken the fighters into pairs, then roll to see which pairs are in the fight, rolling for three pairs.  Well, two of the 'pairs' I rolled up fought yesterday, with the Rookie becoming a Regular, but each having lost his more experienced partner, so I'm down two fighters, and the ones I have are less experienced.

The Japanese strike group, from top:

Zero 02, a Veteran
Zero 01, a Natural Born Killer

Betty 06      Betty 03

       Betty 04      Betty 01

Betty 05      Betty 02

Zero 03, an Ace
Zero 04, a Regular

The Japanese are targeting the following locations for destruction this week:
1. Harbor Facilities - 25/30 pts damage
2. Allied Marshalling Area - 0 pts damage
3. 3 Mile Drome - 0 pts damage
*Each target can take 30 points of damage before being destroyed.

So, this is now a four on four fight, with the Japanese sporting an NBK, an Ace, a Veteran, and a Regular, against an Ace, two Regulars, and a Rookie.  Perfect...

Moving through Turns 1 and 2, time to fight!

Zero 02 pulls just ahead of his leader, the Natural Born Killer, who (I missed the next picture) cuts right and slashes in on Captain Goode (far right)...

Zero 01's (center top left) 20mm cannon rounds damage Captain Goode's P-40, and then Zero 03, the Japanese Ace, swoops in to finish him off!

Captain Goode's aircraft explodes in mid-air, killing him instantly!

Zero 04 cuts left, looking to keep the Yankee Imperialists from reaching the bombers.

Lt Becht runs straight in on Zero 03, looking for revenge...

But he misses and flashes by, cutting right, defensive.

Man, talk about a combat shot!  Sorry...

The rookie, Lt Lageman, sputters ahead, probably just wet himself after watching what became of his flight leader...

As Lt O'Brien charges ahead, looking to see how things shape up.

The Japanese bombers push south.

With three Yankee fighters surrounding him, Zero 01 jinks ahead, looking to clear his tail.

But Zero 03 moves more aggressively, jinking over to make a high-side run on Lt Lageman.

The Japanese tracers flash past harmlessly and Zero 03 comes right.

As Zero 02 pinches in.

And Zero 04 moves to protect the bombers.

Lt O'Brien jinks over to take on Zero 04, but can't line up a shot.

As Lt Lageman cuts left, defensive.

Lt Becht comes right, making a pass at Zero 02, but he misses!

And the Bettys roll south.

Zero 01, the Natural Born Killer, comes all the way around right, lining up a perfect tail shot on Lt O'Brien.  He smiles and gently depresses the trigger...

Then smiles even more as the P-40 belches smoke, flips over onto its back, and plunges into the green hell below, taking Lt O'Brien with it!

Zero 04 punishes himself for his insolence, daring to think he could kill the Yankee, not knowing his place was to watch Zero 01 kill him.  He cuts right and glides past.

As Zero 02 cuts right, defensive, a little shaken up by Lt Becht's reckless attack.

As Zero 03 performs a Split-S, reversing course and pulling alongside the American rookie, Lt Lageman.

Lt Lageman shocks the world by running straight in on the Japanese NBK's tail, lining up a perfect shot.  The rookie Lootenat wipes the sweat from his eyes and opens fire...

But the enemy super ace rolls away from him, causing his tracers to fall away harmlessly, as he flashes past his target...

Up top., Lt Becht comes right, defensive.

The bombers continue moving towards their target.

Zero 01 jinks around Lt Lageman, wanting to get a good look at the American who dared to make a pass at his tail.

And death is on the way as the enemy Ace, Zero 03, comes in behind Lt Lageman, coming to the aid of Zero 01 (far left), as if he needed it.

Zero 04 comes left to deal with Lt Becht, so happy that the two hotshots are screwing around with the American rookie (far left).

But Zero 02 feels the same way about getting some action, so he cuts right, then flips an Immelman to pull in behind Lt Becht.

At this point Lt Becht has Zeros 02 and 04 jumping on him, while Lt Lageman has Zeros 01 and 03 all over him...

The suddenly now senior pilot and thus acting flight leader, Lt Bechtel orders Lt Lageman to disengage and return to base, so the big, heavy P-40 Warhawks both dive away from the enemy to break off the engagement and escape to the southwest, before returning to base!

Wow, that was quick and ugly.  Wait, I said that after the last fight; well, this was even quicker and uglier!  This time there were no Zeros and no Bettys shot down, for the cost of two P40s destroyed and two pilots (one an Ace) killed!  It's bad enough the Americans have inferior pilots flying inferior planes, but then to have bad force rolls that leave them two aircraft short on top of it?  My goodness...

Here's how it turned out:
2nd Lt Lageman survived his first fight and becomes a Regular
Captain Goode, the Ace, was shot down and killed in action
2nd Lt Becht, survived his second fight, but failed to score
2nd Lt O'Brien, was shot down and killed in action

The entire flight of six Japanese Betty Bombers reached the Harbor Facilities; seeing them badly damaged and still burning from yesterday's strike, the Japanese split a single bomber off to finish them, while the other five turned on the Allied Marshalling Area, and gave it a good pounding.  The Harbor Facilities were destroyed and the Allied Marshalling Area took 22 points of damage!  If the Chickenhawks don't do something quick, this is going to be over before it really even starts!

More to come!

V/R,
Jack

No comments:

Post a Comment